No products in the cart.
What to Expect During a Roof Replacement: A 6-Step Guide

Replacing your roof is an important task and can feel overwhelming, especially if you’re a homeowner who has never gone through the process before. A quality roof replacement job will make your home more aesthetically pleasing while providing it with increased protection from the elements.
To help you navigate this project seamlessly, here’s a 6 step guide on what to expect during a roof replacement so that you know exactly how everything should be carried out and what to look out for. Let’s get started!
Inspect your new roof with a professional
When getting a new roof, you want to make sure it’s up to code and ready to perform for years to come. Like many other roofing contractors, even at ProCraft Home Products is possible to get a roof inspection, installation, and replacement, depending on your needs. A roof inspection will be able to determine if there are any existing roofing problems. This way, you can address them before they become major and expensive issues down the line. Don’t take any chances with your investment! Schedule a professional inspection with your trusted contractor.
Gather the necessary materials
Before embarking on any roofing project, don’t forget to gather all the necessary materials. These may include:
- Roofing nails
- Roof felt paper
- Roof shingles
- Counter flashing materials
- Flashing cement
- Chimney cap and boot
Gathering the right materials can make a huge difference if you want to ensure a successful roof replacement. Also, pay attention to the quality of the materials you use — don’t settle for subpar equipment to cut costs, as it won’t make a difference in the long run.
Remove the old roofing material
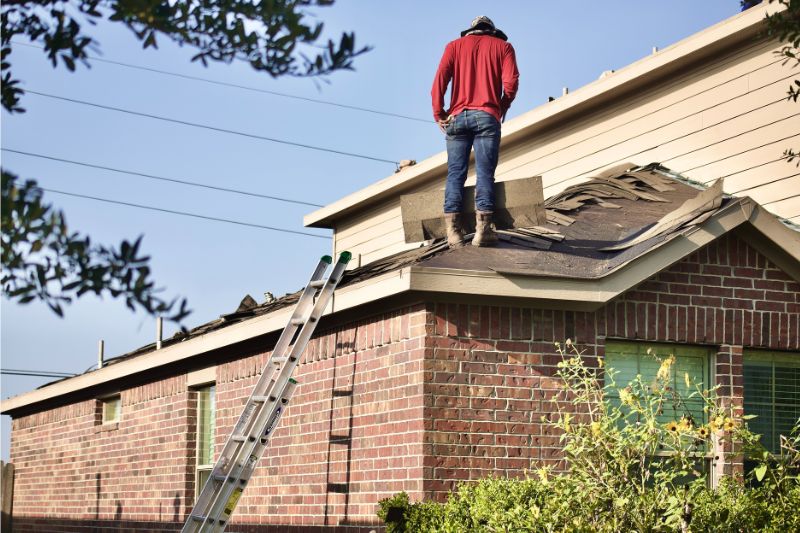
As you might know, the roof is one of the most important components of any building, protecting us from harsh elements like rain, wind, and snow. But over time the roofing material can become worn and damaged, making it necessary to remove it and inspect the underlying structure.
When removing the old roofing material, safety should always be your top priority. Wear a hard hat and protective eyewear and gloves to prevent any potential injury. After you’ve removed all the shingles, inspect the plywood decking for any signs of rot or water damage. If necessary, replace any damaged portions before installing the new roofing material.
Prepare for the roof installation
Protecting your home and keeping it in top shape is a job that requires a lot of attention to detail. That’s why, before you start the installation process, you want to make sure the area is safe and prepared for your new roof.
For starters, lay down plastic sheeting to protect any nearby plants or gardens from debris. Then cover window sills and door frames with tape so that they don’t get damaged. Once everything is prepared for the installation process, it’s time to start laying down the new roofing material.

Install your new roof
Now that all the necessary preparations have been completed, you can begin installing the new roofing material. Here are a few steps you should never skip:
- Install the drip edge to ensure all water runoff is directed away from your home.
- If you have a chimney, make sure it’s capped off properly with flashing cement.
- Begin by installing the starter row of shingles and then work your way up in a staggered line for an even look.
- Make sure the nails are properly fastened so the shingles won’t come loose.
- When you’re done installing the shingles, lay down roof felt paper for added protection from leaks and water damage.
Clean up the area after installation
Once all of the roofing materials have been installed, clean-up is a must! Remove any debris or leftover nails that could cause injury. Then, inspect the roof to make sure everything is in place and functioning properly. If you’re satisfied with the work, then congratulations on a successful roof replacement!
If you decide to take on this project yourself, it’s always recommended to hire a professional roofing contractor for advice and assistance. With their experience and expertise, they can ensure that your new roof meets all safety and quality standards.
Take care of your property and make sure it stays in top condition with a properly installed roof. With these 6 steps, you’re now well-equipped to know exactly what to expect during a roof replacement. All that’s left for you to do is look forward to enjoying your beautiful new roof!
An extra tip: Make sure to keep up with regular maintenance and inspections on your roof throughout the year to ensure it remains in great condition. A little care can go a long way toward prolonging the life of your roof!


Leave a Reply